ssh to the virtual instance and type the below commands. these below commands will install apache2 web server on the instance & will update the homepage to Hello world followed by hostname & IP address of the virtual instance.
sudo su
apt update
apt -y install apache2
sudo service apache2 start
sudo update-rc.d apache2 enable
echo "Hello World" > /var/www/html/index.html
echo "Hello World from $(hostname) $(hostname -i)" > /var/www/html/index.html
you can visit the page by entering the public IP address of the virtual instance in the browser. You should see something similar as shown below. the 10.182.0.2 is the internal IP address of my virtual instance in this case.

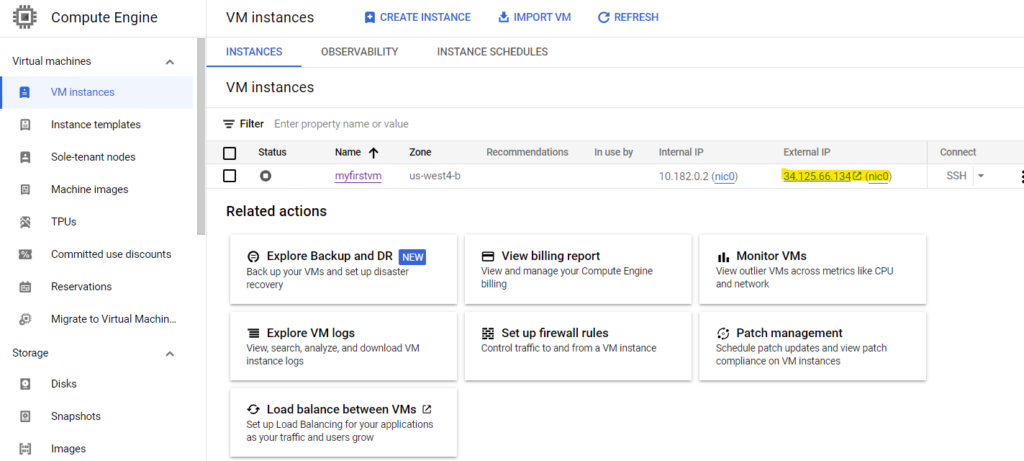
it must be noted that every virtual instance is assigned with an internal IP address, but an external IP address is not mandatory. you can choose to not assign an external IP address if you wish to. Also, it is important to note that by default the virtual instance external IP address is removed when we stop the instance. There is also no guarantee that the virtual instance will receive the same IP address when we restart the instance. The external IP addresses are assigned from a pool via DHCP. While we can assign a static IP address to the instance, it comes with an extra cost.
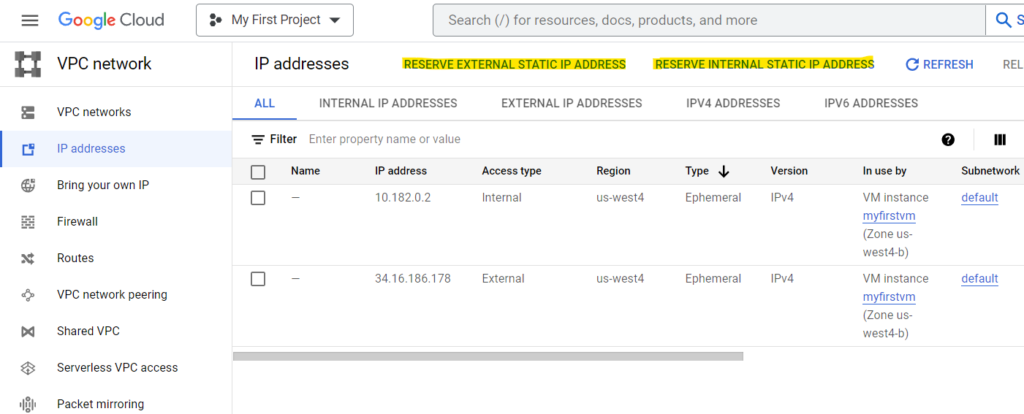
Navigate to VPC Networks & click on IP address. Here you can see the IP addresses currently assigned to your machines and you can also see the option to reserve an IP address

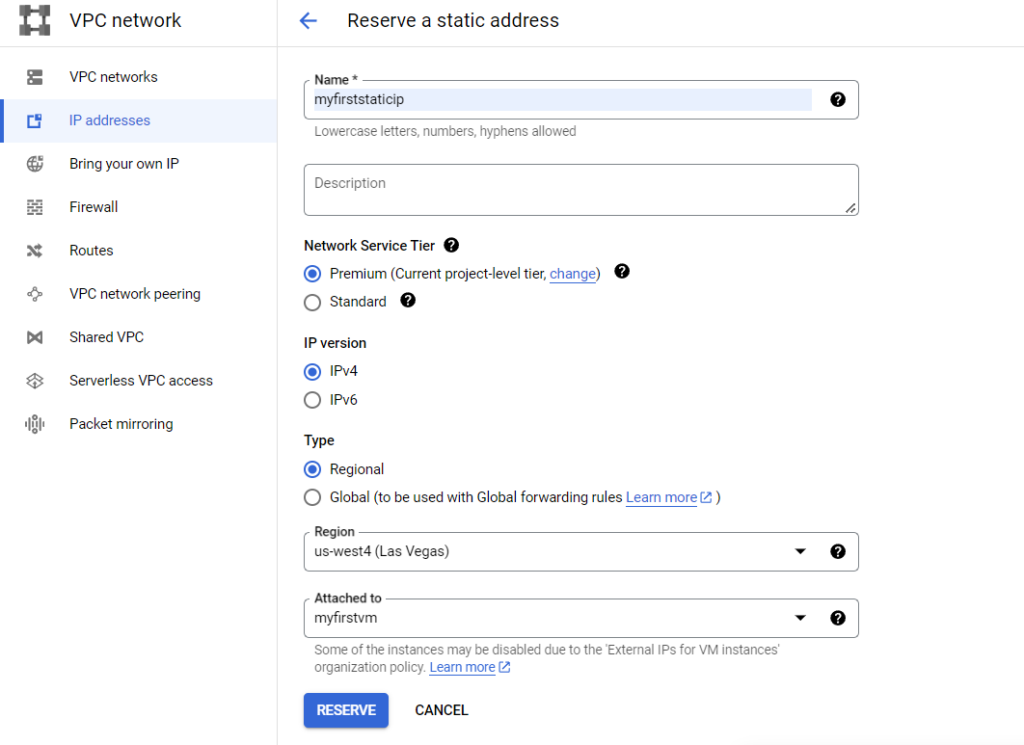
Specify the name, type of tier you would prefer & select the region for the static IP address & click reserve

It must be noted that the static IP address must be from the same region as the virtual instance to be able to attach to it. The static IP address will remain attached to the Virtual instance even when the instance is stopped & Static IP can be assigned to any other virtual instance within the same project.

There is a premium that would be charged for static IP addresses & hence any static IP’s that are not being used should be released.

